
In my previous post Create Azure App Service from Visual Studio, I explained how to create and configure Azure App Service and how to deploy your ASP.NET Core web application to Azure App Service from Visual Studio 2022. In some real-world scenarios, you don’t have the luxury of creating a new Azure App Service at the time of deployment. You may already have an App Service available on Azure and you may want to deploy your web application to an existing Azure App Service. In this post, I will show you how can you download Azure App Service publish profiles from the Azure portal and how can you use this profile to deploy your ASP.NET Core web application to Azure App Service.
Table of Contents
Prerequisites
Before I start this walkthrough, I am assuming that
- You have an active Azure account with a free or paid subscription.
- You have Visual Studio 2022 installed on your computer with the ASP.NET and web development workload.
- You have already created an Azure App Service. You can read my post Create Azure App Services using Azure Portal to learn how to create Azure App Services.
- You have an ASP.NET Core web application ready for deployment.
If you think that your machine is not configured correctly, then you can visit https://docs.microsoft.com/en-us/dotnet/azure/dotnet-tools?view=azure-dotnet&tabs=windows to set up your computer correctly.
Download Publish Profile from Azure Portal
Log in to the Azure portal and navigate to the Azure App Service where you want to deploy your web application. You will see the Get publish profile link on the top bar that allows you to download the publish profile on your local computer. A publish profile is a file that contains information and settings that Visual Studio uses to deploy applications and services to Azure. Click the Get publish profile button to download and save a file with the .publishsettings on your local computer.

Publishing Web Application to Azure App Service
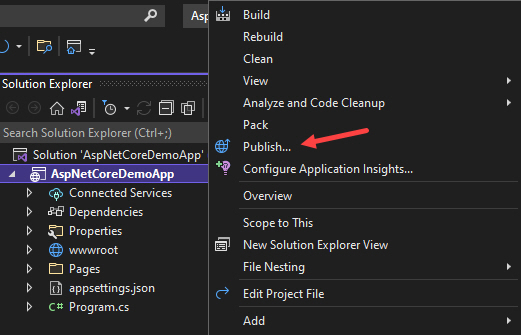
Open the ASP.NET Core web application and press F5 to make sure it is building and running fine on the local machine. To start publishing, right-click on a project name in the solution explorer and choose the Publish… option to open the publish dialog.
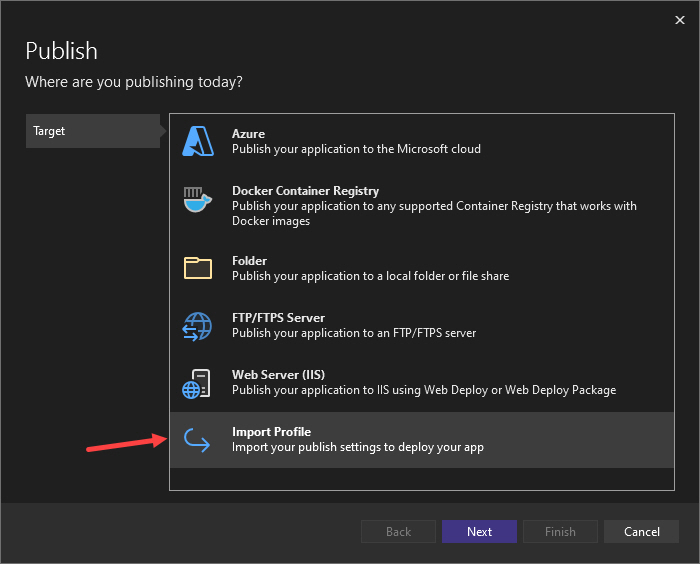
You should see the Publish dialog similar to the following where you have multiple options to publish your web application. You can create a new Azure App Service and publish the web application directly to that service. You can also publish your application to a web server (IIS), FTP server, a local folder, etc. We want to import the publish profile we downloaded from the Azure portal into the Visual Studio so you can choose the last option Import Profile and click the Next button.
The next dialog will ask you to choose the downloaded publish profile so click the Browse… button and select the publish profile file from your local computer.

Visual Studio will load and display the publish profile settings and you will see a lot of options to customize these settings as per your requirements. You will also see the subscription, resource group, etc., and other information related to Azure App Service where you are deploying your application.
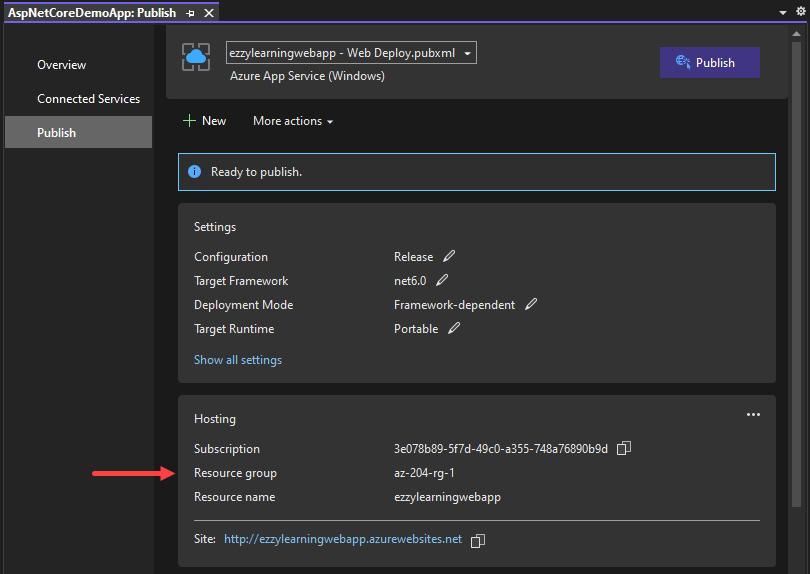
Once you are satisfied with the settings, you can click Publish button and Visual Studio will start the process of building, packaging, and publishing your web application.
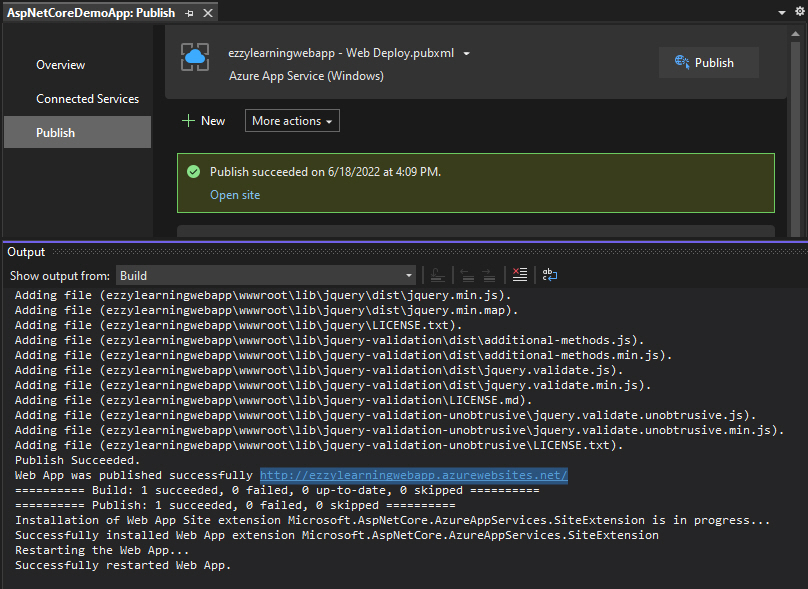
It will also launch the web app in the default browser.
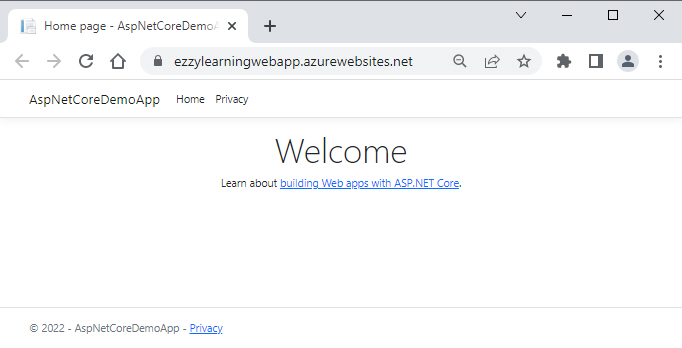
Congratulations! You have just deployed your web application to Azure App Service using the publishing profile settings generated and provided to you by the Azure portal.

Great info
Nice Tutorial.. Keep adding similar stuff like
– Docker
– Containerization of your .net application
– Using AKS for your .NET App
– Scale in / Out based on user load etc in Azure